How it works
How a Travel eSIM Works.
Three steps on your phone. Your Canadian number can stay on for calls and codes; data runs on the travel plan.
-
1
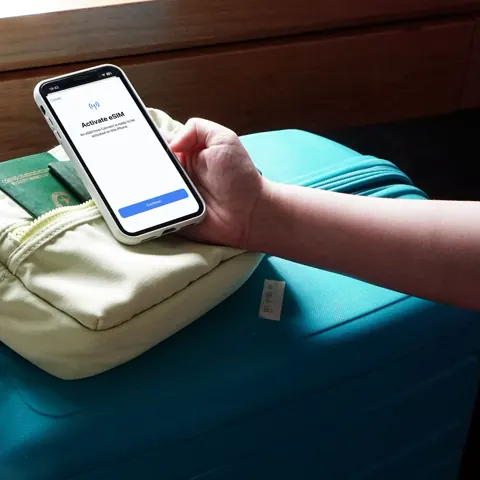
Pick a Destination and Plan
Tell us where you’re going and how you use data. We recommend a country or regional plan and show verified starting prices when we have them.
-
2
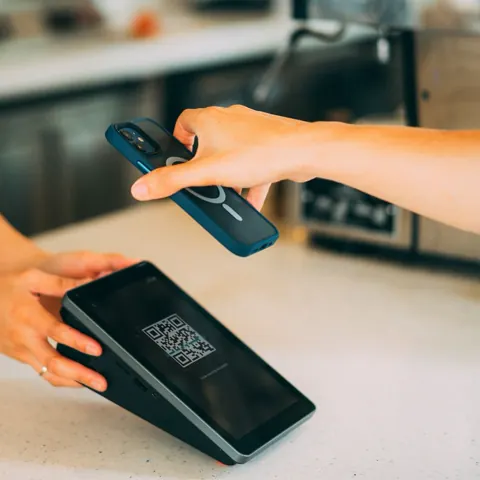
Pay and Receive a QR Code
You buy on the provider’s site. They email a QR code or an in-app install. We do not take payment today.
-
3

Install At Home, Switch on When You Land
Add the eSIM on Wi-Fi before you fly. Keep your Canadian line. When you arrive, set mobile data to the travel eSIM and leave roaming off at home.
The phone mockups above are ours. They show the idea, not a partner’s app. The sequence below is the same whether you are going to France, Japan or the Dominican Republic. Swap in your destination on the planner when you are ready.

1. Pick a Destination and a Plan Size
Start with the country, not the brand. A plan that looks cheap can be a regional pack that misses the one country you actually need, or a local pack that dies when you hop a border. Our destination guides recommend a country or regional plan type for that reason. Europe is the usual regional case; the United States, Japan, Mexico and much of the Caribbean are usually bought as a country plan. Cuba and mainland China often need a closer look — we flag those as “check first.”
Then size the data. Maps, messaging and bookings are light. Video calls, Instagram uploads and a laptop on hotspot are not. The data calculator turns trip days and daily habits into a planning total, then shows verified published plans from our prices file where we have them. We never invent a price. If a destination has no verified row, we say so and send you to the provider to confirm.
Trip length matters for validity, not just gigabytes. A 3-day 1 GB pack is the wrong tool for a three-week tour even if the data would have been enough at home. Buy coverage that outlasts the last travel day, and check whether the clock starts at install or at first connection abroad.

2. Pay the Provider and Receive the QR Code
eSIM.ca does not take your card today. When you click “View plans” or “Get plan,” you open the provider in a new tab, with rel="noopener sponsored nofollow" on the link. Your purchase, refund and support contract is with that provider. If we may earn a commission, that is disclosed on how we earn.
After payment you should receive a QR code and a short install note, by email or in the provider’s app. Save both offline. Screenshot the QR, and also keep the SM-DP+ address and activation code if they are printed as a fallback. If the email does not arrive, check spam and the provider’s app before you assume the plan is missing — and do that at home, not at the gate.
A 10% multi-line promotion only appears on our site when we have a real, dated offer in our data. We do not invent a “2+ eSIMs” discount to imitate another brand’s checkout.

3. Install At Home, Switch on When You Land
Install on Wi-Fi a day or two before you fly. Name the line “Travel.” Leave it off if the plan starts at first use; if it starts at install, read the terms and do not install three weeks early. Keep your Canadian line on for calls and SMS. Turn its data roaming off now, not later.
On landing — or when you clear the aircraft Wi-Fi — set mobile data to the travel eSIM and confirm roaming is on for that line only, if the provider requires it for local partner networks. Make a test request that is not a 4K stream: load a map, send a message. If it fails, do not toggle roaming on the Canadian line as a first fix. Use troubleshooting and the provider’s support contact you saved offline.
A Short Example
A week in France, light maps and messaging, some photo sharing, no hotspot: the calculator will usually land in the 3–5 GB range, and we would point you at a European regional pack if you might add a day in another EU country, or a France plan if you are staying put. A two-week Mexico trip with daily navigation and a few video calls will read higher. In both cases the last step is the same: confirm the live price and the network list on the provider’s page.

If Something Is Unclear
The install guides for iPhone and Pixel and Galaxy follow the official Settings paths. Compatibility, including regional exceptions, is on the device list. If you want a longer explainer of the technology, start at what is an eSIM.